Physical Address
304 North Cardinal St.
Dorchester Center, MA 02124
Physical Address
304 North Cardinal St.
Dorchester Center, MA 02124

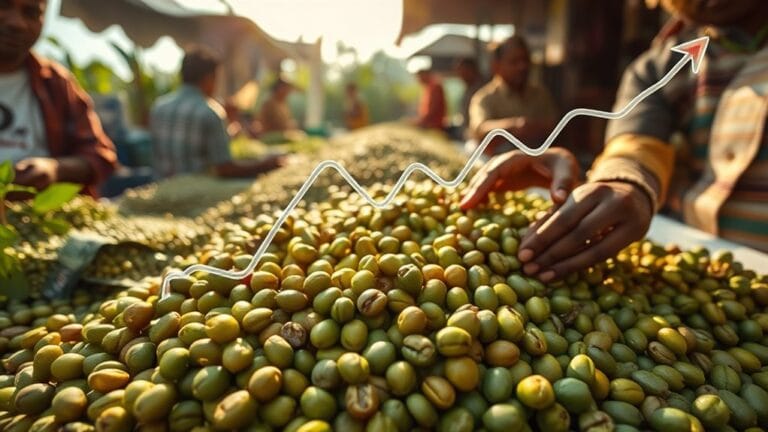
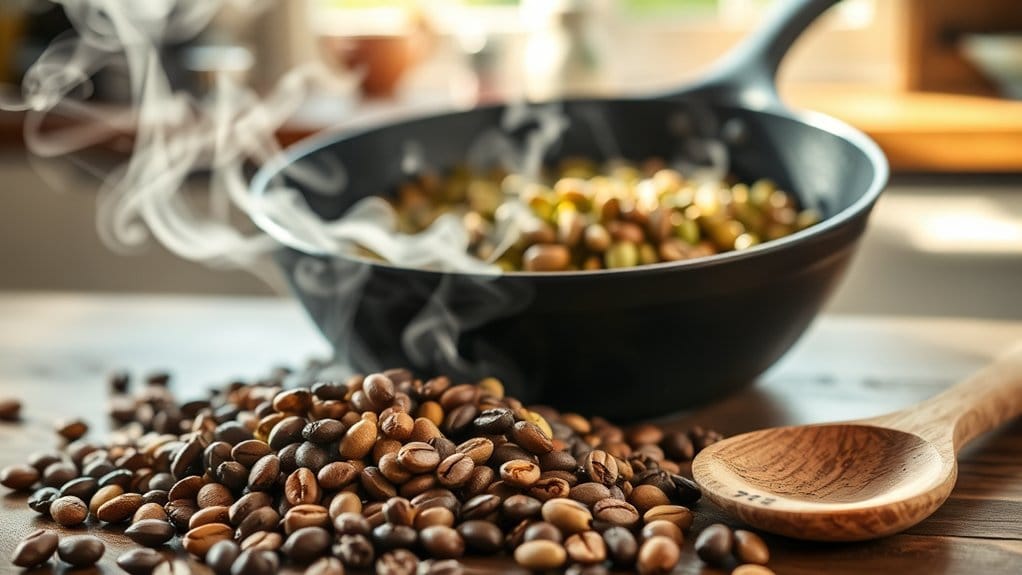
Roasting coffee beans yourself can really be a fun adventure! You can use an oven, a stovetop popcorn popper, or even a skillet. Watch as those green beans turn from yellow to beautiful brown. Remember to keep an eye on the time and temperature, especially around the first crack. Don’t worry if it doesn’t turn out perfect right away—practice makes better brews! Stick around to uncover more tips and tricks for that ideal cup of coffee.

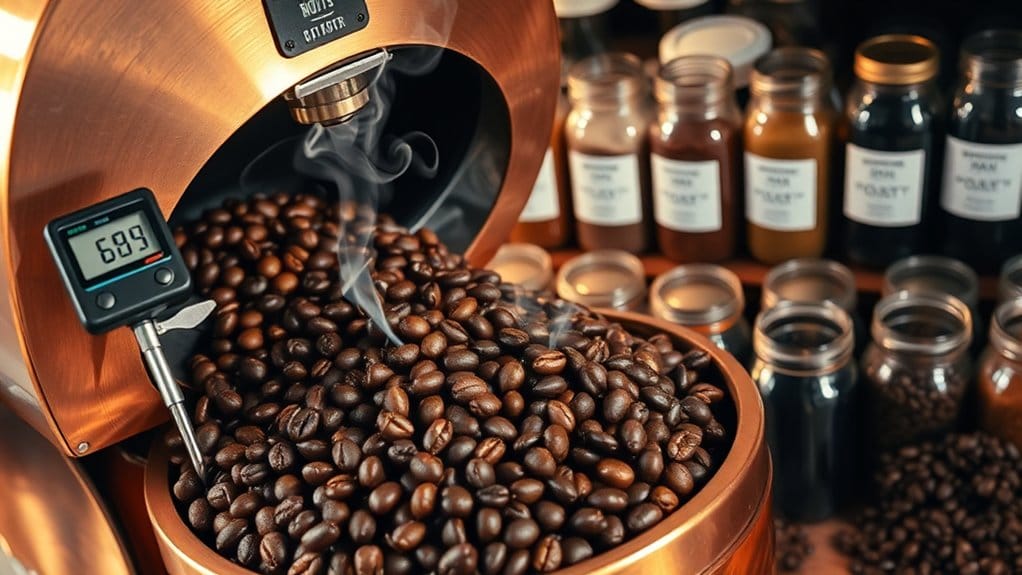
When you decide to roast your own coffee beans at home, it opens up a world of rich aromas and unique flavors that store-bought beans just can’t match. You can choose from several methods, like oven roasting. Spread those green beans on a baking tray, and let them roast for 15 to 20 minutes at 450°F, stirring occasionally to avoid scorching. Or, try a stovetop popcorn popper for a fun twist—put in a larger batch, crank that handle, and enjoy the show! If you prefer something quick, a skillet works too. Just keep the beans moving to prevent burning. Experimentation is encouraged with each method to enhance your roasting skills. For those looking for more consistent results, investing in a specialized coffee roasting appliance can significantly improve your roasting experience. No matter the method, each brings you one step closer to that perfect brew you crave. Happy roasting!
Roasting coffee beans goes through several exciting stages that dramatically transform them from green seeds to the fragrant, flavorful beans you love.
First, in the drying stage, dampness leaves, and the beans shift from green to a sunny yellow. The drying process is essential for removing moisture that prepares the beans for the next stage. The drying stage typically involves rotating a roasting drum at 160°C for up to 8 minutes, which influences the overall quality of the roast.
Then comes the browning stage, where aromas start to bloom and oils are released. You’ll hear the first crack as beans expand, almost like popping popcorn! This is where magic happens—new flavors develop through chemical reactions. The first crack signals experimentation potential for roast profiles.
As the roast continues, you’ll reach the second crack, indicating deeper flavors. Depending on how long you roast, you can end up with light, medium, or dark blends. Each choice opens a world of taste, so pick your favorite and enjoy!
During diving into the art of coffee roasting, you’ll quickly realize that not everything goes according to plan. You might encounter scorching, where your beans develop burnt spots as a result of high temperatures. Scorching risk increases with lower-density beans and natural process coffees, which may lead to undesirable flavors. Lightly roasted beans, however, can offer distinctive notes that highlight their unique characteristics.
Over-roasting could turn your brew bitter, ruining that delicate balance you crave. You’ll additionally face challenges with uneven roasts from poor heat distribution—no one wants their coffee tasting like a mixed bag of beans! And let’s not forget the humidity—too much can spoil everything. It’s like attempting to make a perfect soufflé in a drafty kitchen.
You’ve got to keep an eye on temperatures, timing, and your roaster’s quirks. Just remember, every roast is a new adventure, filled with tasty surprises and learning moments.
Every coffee lover knows that roasting isn’t a “set it and forget it” task. You have to pay attention to several key variables. Start with temperature: your charge temperature sets the stage, whereas environmental conditions can throw a wrench in your plans.
Don’t forget bean temperature—it tells you when to stop roasting!
Timing is essential too. Staying aware of roast time, preheating, and the first crack helps you find that sweet spot.
Airflow matters as well; controlling the volume and speed can make a difference in flavor. Then there’s humidity. Higher moisture content means longer roasting, and the humidity around you affects the process too.
A little focus on these variables can turn your beans into pure deliciousness! Additionally, using a quality grinder can enhance the flavor extraction from your freshly roasted beans, ensuring a superior cup of coffee.
As you commence on your coffee roasting expedition, you’ll reveal that flavor development is like a magical movement happening right in your roaster.
You’ll notice the beans changing colors, from green to yellow, then to rich browns. The Maillard reaction kicks in, creating delightful aromas and complex flavors. Isn’t that fascinating?
As the beans heat up, simple sugars caramelize, making your coffee sweeter.
Watch for the first crack; it’s like your beans are cheering you on! This signals light roast beginnings.
When you reach the second crack, you’re diving into deeper, bolder flavors.
It’s all about heat and timing. With practice, you’ll become a flavor wizard, crafting your perfect cup of coffee! How exciting is that?
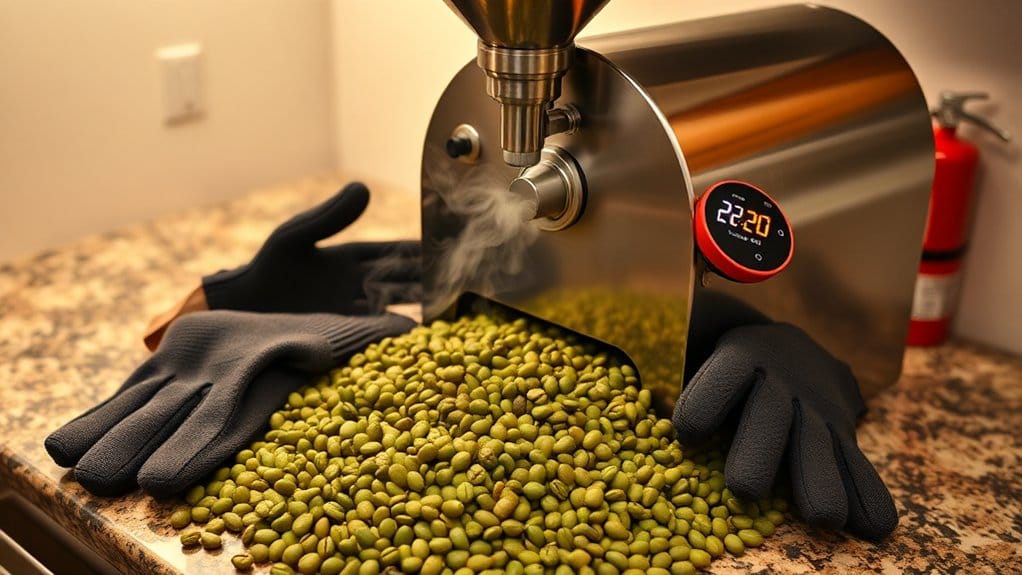
Choosing the right equipment for roasting coffee can feel like picking the right tools for a treasure hunt.
You’ll want to reflect on your style first. If you’re after quick results, an air roaster’s your best bet. Drum roasters, conversely, offer tradition and larger batches—perfect for sharing!
Don’t forget about stovetop options like skillets or handheld roasters for that cozy, old-school vibe.
Key gear includes a thermometer for temperature control and a cooling tray to stop the roast. Accessories like scales guarantee you measure beans accurately, whereas timers help maintain that perfect roast.
With a sprinkle of careful selection, you’ll unearth your ideal setup, ready to create your own delicious coffee adventures.
Let the hunt begin!
Now that you’ve got your roasting equipment sorted, it’s time to think about safety.
First things first, roast in a well-ventilated area. You don’t want smoke and fumes hanging around, so open windows or turn on those exhaust fans!
Keeping your area clean is essential, too—chaff can be a fire hazard, so use a vacuum to keep it tidy.
Don’t forget your personal protective gear! Wear heat-resistant gloves and closed-toe shoes to keep your feet and hands safe.
In addition, always keep an eye on your roaster. Don’t leave it unattended!
Finally, have a spray bottle nearby—it’s a simple way to cool things down if trouble brews.
Happy roasting, and stay safe!
Roasting coffee beans can feel like an art form, especially if you want to achieve that perfect flavor profile.
Start by controlling your time and temperature—light roasts hit first crack around 7-9 minutes at about 385°F.
Keep an eye on the color changes as your beans go from green to yellow, then light brown. You’ll hear the first crack pop like popcorn, signaling your light roast.
Aim for a “low and slow” method to build flavor before raising the heat.
Once you stop roasting, cool your beans quickly to lock in flavors, then let them de-gas for 12-24 hours.
With practice, you’ll turn simple beans into your perfect cup of coffee, no rush!
In regards to experimenting with different roast profiles, you might find it as fun as a science project in your kitchen. By playing with temperature and time, you can unlock a world of flavors.
For instance, light roasts offer bright, fruity notes, whereas darker roasts bring out bittersweet flavors and rich caramel hints. Have you noticed the first crack? That’s when the magic starts! Adjusting the roast’s intensity lets you develop sweetness or acidity, depending on your taste. Evaluating through tasting is crucial to finding your preferred roast strength.
Remember, not all beans react the same. Ethiopian beans pop with floral notes, whereas Sumatran beans offer earthiness.
You should consider starting with Brazilian or Central American beans for their forgiving flavors. Ethiopian and Colombian varieties likewise offer unique profiles. Focus on green beans, ensuring they’re free from defects for your roasting expedition.
To store roasted coffee beans, use airtight containers, keep them in a cool, dark place, and avoid humidity. Consume within ten days for peak flavor, and consider vacuum sealing if you need to freeze them.
Yes, you can reuse your roasting equipment for other foods, but it’s essential to clean thoroughly between uses. Cross-contamination of flavors and residue can pose safety risks, so follow rigorous cleaning protocols to guarantee proper usage.
To tell if coffee’s stale, check for dry, dusty beans, a dull smell, and a weak flavor. If it tastes bitter or lacks aroma, you’re likely dealing with old coffee. Trust your senses!
Humidity considerably affects coffee roasting by altering heat transfer and dampness levels. In high humidity, your beans absorb more dampness, requiring longer roasting times and potentially muting flavors, whereas low humidity accelerates roasting and improves brightness.