Physical Address
304 North Cardinal St.
Dorchester Center, MA 02124
Physical Address
304 North Cardinal St.
Dorchester Center, MA 02124
What’s in your brew water? It’s not just H2O! Your water’s minerals, like calcium and magnesium, can shape the beer’s flavor, just like hops and malt do. If the pH isn’t right, you might end up with a mishmash of tastes. Imagine your brew transforming from bland to grand with the right tests. Don’t underestimate those ions! Curious about which tools help you get the scoop on your water? Keep going to find out more!
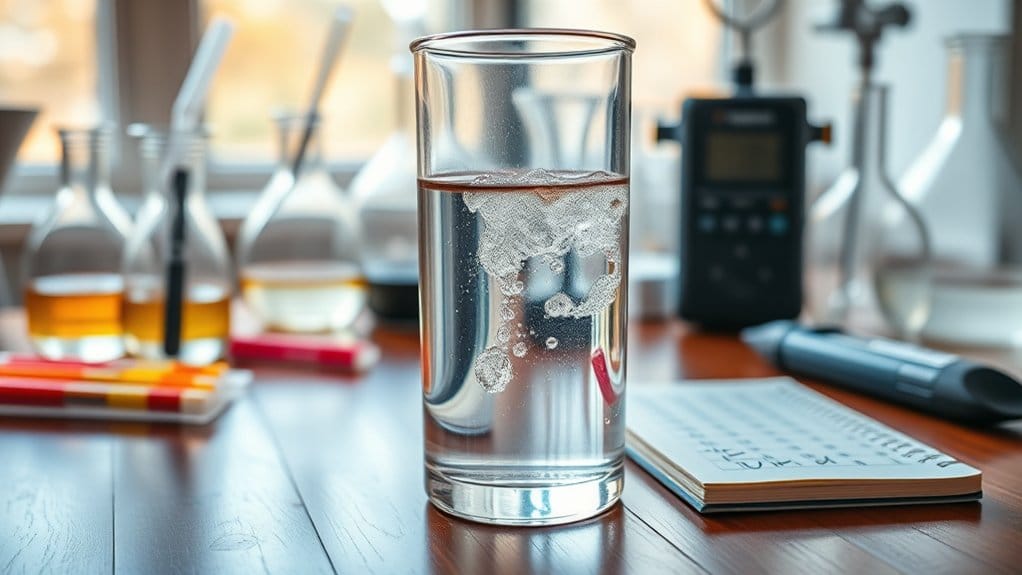
When you think about brewing, you might imagine hopping aromas or the rich colors of your favorite beer, but did you know that water plays a crucial role? It’s true! Quality water can make or break your brew.
The pH levels influence how flavors extract from malt and hops, impacting taste. You want that sweet spot between 5.2 and 5.6 pH—too high or low, and you’re in trouble! Water constitutes over 90% of beer’s composition, and this fact illustrates just how vital it is to the brewing process. Fluctuations in water quality can affect beer taste, so maintaining consistency is key to achieving your desired flavor profile.
High alkalinity might give your beer a harsh bite, whereas low alkalinity can make it feel flat. Plus, minerals can help you copy the styles of famous beer regions.
Understanding the key parameters in your brew water is essential for crafting that perfect pint.
First, check calcium and magnesium levels; you want calcium between 50 and 150 ppm for great flavor and mash pH, whereas magnesium should stay below 40 ppm.
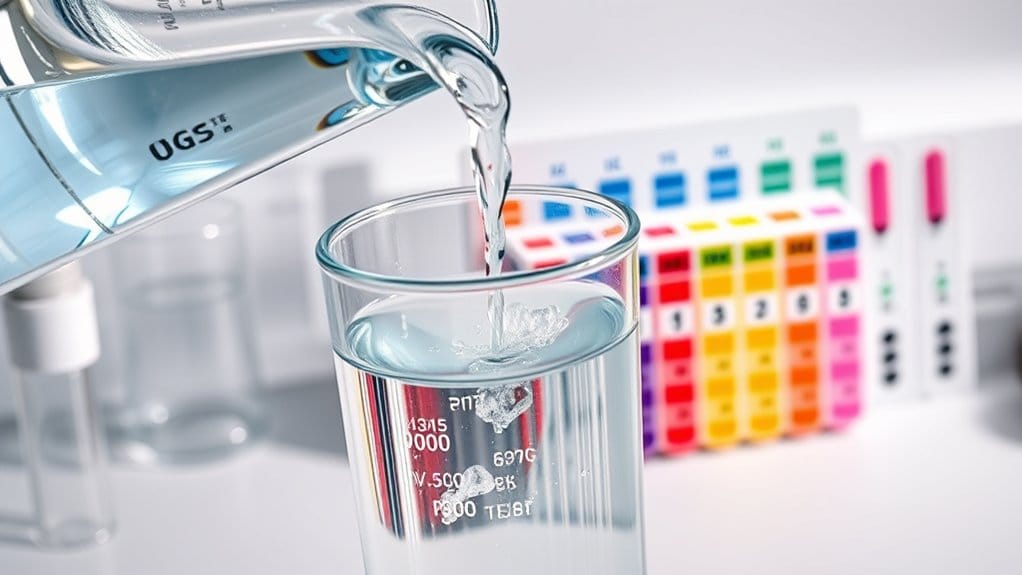
Next up is alkalinity—less than 50 ppm is ideal to prevent mashing headaches and off-flavors. Testing your water can help you accurately measure your alkalinity levels. With the use of CDR BeerLab®, you can quickly and easily assess these water parameters right at your brewery.
Don’t forget pH; a range of 6.5 to 8.0 is best before mashing.
Then, there’s total hardness, which should be above 150 ppm for quality brews.
Finally, balance your sulfate and chloride for a beautiful flavor; more sulfate for hoppy beers, and more chloride for maltier styles.
Each element works together to make your beer shine!
You’ve got your key parameters in brew water down, and now it’s time to talk tools!
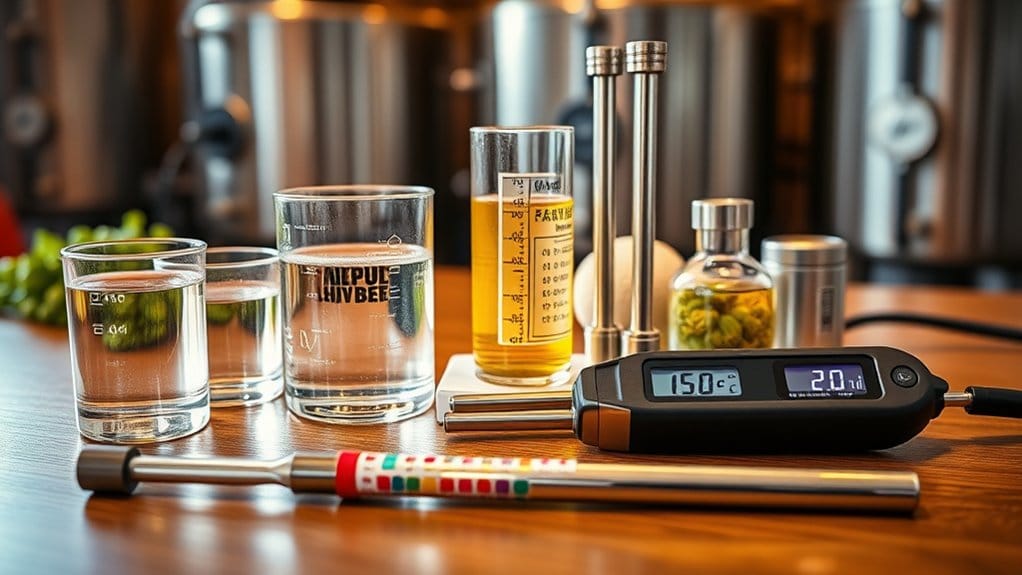
Start with the Smart Brew Water Testing Starter Kit—it’s got everything from testing strips to a photometer. If you want a straightforward approach, the LaMotte BrewLab Basic Kit covers the fundamentals, perfect for monitoring your beer’s flavor. Want more precision? Check out the digital pH meters or the eXact iDip Smart Photometer. They sync with your phone, making data tracking a breeze! The Smart Brew Starter Kit is particularly useful because it includes a Bluetooth-enabled photometer, ensuring easy and accurate readings for optimal water quality.
Don’t forget the hydrometer and test jars to guarantee accurate sampling. And hey, during those test strips are great for quick checks, remember—they’re not foolproof! Choosing the right tool can uplift your brewing game to a whole new level.
If you want to take your brewing to the next level, advanced testing kits are your best friends.
These kits, like the eXact iDip, give you precise ion measurements that make all the difference. They check essential elements, from calcium to sulfate, and even have Bluetooth to sync with your smart devices.
Imagine having lab-grade accuracy right in your kitchen! Plus, you can customize tests to pinpoint specific needs.
With user-friendly designs, it’s like having a brewing buddy that does the math for you. And let’s be honest, who wouldn’t want that?
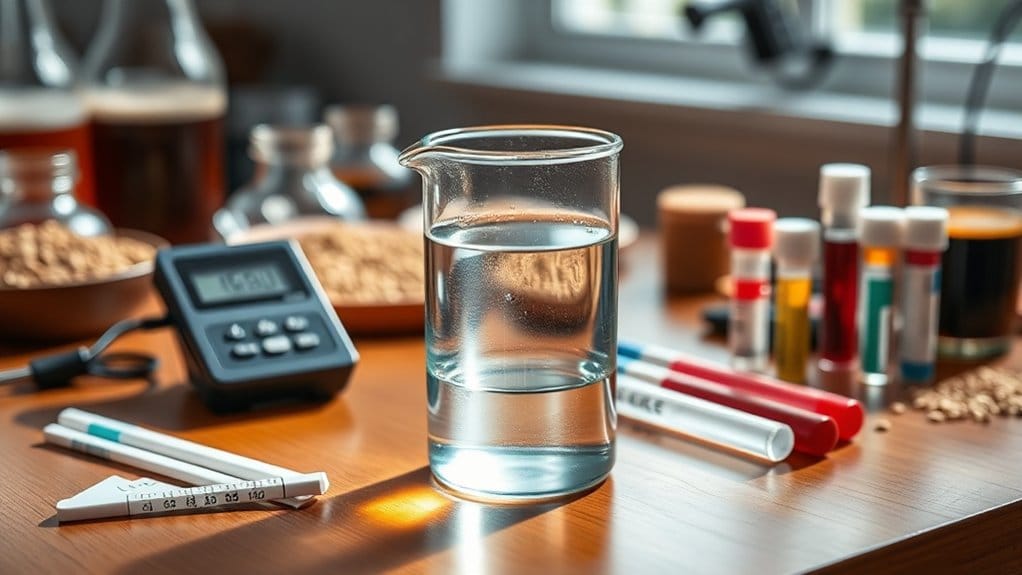
In the domain of brewing great beer, conducting effective water quality tests is essential for getting the best results. Start by focusing on the “big six” ions—calcium, magnesium, sulfate, sodium, chloride, and bicarbonates. These are key to controlling flavor and mash pH.
First, gather consistent water samples from the same source and check city water reports for ion data. Test strips are handy for quick checks, but a lab test can provide accuracy. Calibrate any handheld meters regularly to keep them on point.
As the brewing world evolves, keeping an eye on future trends in water testing can give you a real edge. Imagine sipping a perfectly brewed beer, knowing every drop of water has been carefully managed.
Innovations like AI and real-time monitoring are changing the game, helping you detect issues before they pop up. Plus, as sustainability becomes a buzzword, reducing water usage is no longer an option—it’s a necessity.
You’ll want to guarantee your water sources are safe and clean, focusing on local supplies. Consumers are asking for transparency, which means you’ll need to show how you’re tackling these challenges.
You should test your brew water before every brew to guarantee consistent quality. If your water source is stable, testing three times a year may suffice, but adjust based on changes or specific conditions.
You can use regular tap water for brewing, but it’s vital to check for chlorine and TDS levels. Treat or filter as needed to avoid off-flavors and optimize your brew’s taste and quality.
Acceptable pH levels for brewing water vary: keep mash pH between 5.1 and 5.8, sparge water below 5.8, and aim for finished beer pH between 4.1 and 4.6 for ideal flavor and stability.
To interpret your water test results, focus on contaminants exceeding health standards, check pH and TDS for quality, and consult notes from your testing agency. Prioritize safety and plan necessary actions based on findings.
If your water’s too hard, you’ll likely experience mineral buildup in your coffee maker, affecting its lifespan. Over-extraction can make your coffee bitter or astringent, compromising the flavor and overall drinking experience.